


Apache is one of the most well-known web-server. It is an open-source and cross-stage HTTP/HTTPS server that controls an enormous level of the Internet’s sites. Apache gives numerous ground-breaking features that can be stretched out through extra modules. This instructional exercise describes how to install and configure the Apache webserver on Ubuntu 20.04.
Quick Guide for Install Apache on Ubuntu 20.04
Before starting with the article, make sure you have a root user or sudo privileged user. Point the domain to the server IP to get the output as the very last image.
Apache Installation
Apache is already present in the Ubuntu repositories.
The installation process is quite clear. On Ubuntu and Debian operating systems, the Apache and its service is called apache2.
Run these below commands to update the packages first and install Apache:
sudo apt update -y
sudo apt install apache2 -y
When these commands will be executed, As a result, Apache will be installed and the service will automatically start.
Now, Just verify that the service is running with the following command:
sudo systemctl status apache2
You will get something like this as output, And that will tell you about the service’s current status and auto boot status of service:
● apache2.service - The Apache HTTP Server
     Loaded: loaded (/lib/systemd/system/apache2.service; enabled; vendor preset: enabled)
     Active: active (running) since Sat 2020-08-08 19:28:40 UTC; 2min ago
...
That’s pretty much it to successfully install Apache on Ubuntu 20.04 server, Let’s proceed further.
Open HTTP and HTTPS Ports
Apache webserver listens on two-port 80,443 HTTP and HTTPS respectively. We need to open these two ports in the default installed firewall so we can access the webserver from outside using the Internet.
Read Also: How To Install MySQL 5.7 and 8.0 In Ubuntu 20.04
By default Ubuntu uses UFW, so we can enable both ports in the firewall by issuing the below command:
sudo ufw allow 'Apache Full'
This Apache Full will enable both the ports.
We can verify the change by the following command:
sudo ufw status
Status: active

To                         Action      From
--                         ------      ----
22/tcp                     ALLOW       Anywhere
Apache Full                ALLOW       Anywhere
22/tcp (v6)                ALLOW       Anywhere (v6)
Apache Full (v6)           ALLOW       Anywhere (v6)
Verify the Apache Installation
To confirm that everything works effectively, open any browser, put your server IP address http://YOUR_IP_OR_DOMAIN/ in the URL bar, and you will see the Ubuntu 20.04 Apache default welcome page as below image:
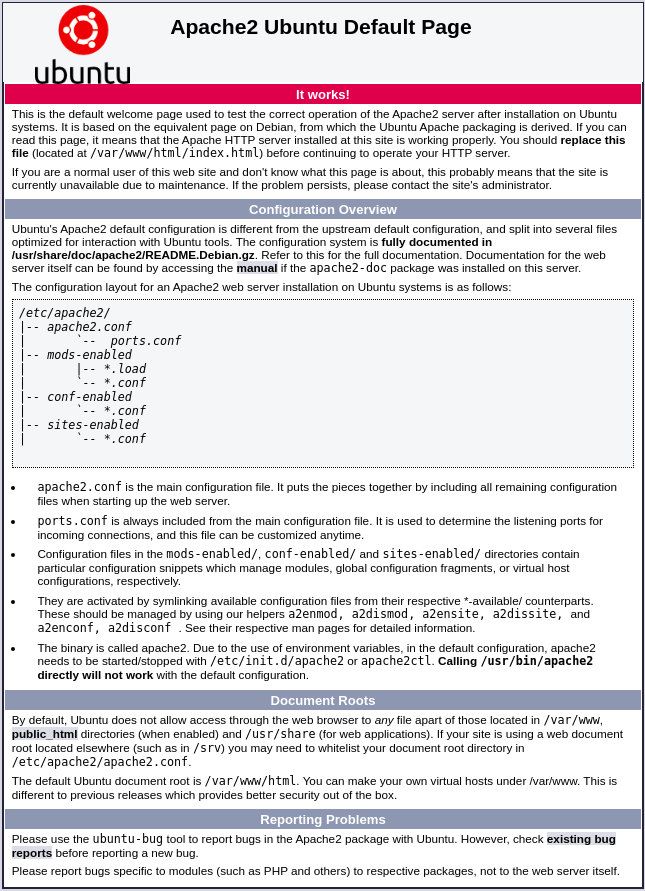
This page shows some fundamental information about further Apache configuration, some helper scripts, and directory locations.
Configure Virtual Host
A Virtual Host is a part of the Apache configuration directive. It will permit us to run more websites on a single server. Normally, a virtual host represents one website.
Apache comes with one enabled virtual host by default. Any domain that pointed to the server IP address in the DNS zone, will match with the default virtual host. If you are planning to host only one website, you simply can upload your site content in /var/www/Html as it is the default document root for the default virtual host, and the virtual host configuration file will be /etc/apache2/sites-enabled/000-default.conf file, so you can edit this file if you need to make any further changes.
On the off chance, you need to have more than one site. Then you’ll have to do a virtual host setup for each site. In this part, we’ll set up a site with a domain called “example.net”. You need to supplant “example.net” with your owned domain name.
The initial step is to create a document root directory. That’s where we will put our website files for our domain name. Run the below command to make the directory:
Create Directory
sudo mkdir -p /var/www/example.net/public_html
For the testing aspect, create an index.html the file inside the just created document root directory:
vim /var/www/example.net/public_html/index.html
Copy and paste the following content in the index.html file.
<!DOCTYPE html>
<html lang="en" dir="ltr">
  <head>
    <meta charset="utf-8">
    <title>Welcome to example.net</title>
  </head>
  <body>
    <h1>Success! example.net home page!</h1>
  </body>
</html>
Save and close the index.html when you are done.
To avoid any permission issues, update the ownership of the document root directory to the apache user (www-data):
sudo chown -R www-data: /var/www/example.net
The subsequent stage is to make a virtual host configuration file for the “example.net”. The best practice is to store each vhost config in a separate file.
Apache vhosts files are located in /etc/apache2/sites-available directory. The best method to name the file is according to the domain.
Edit configuration file
Open your preferred text editor and create the following file:
vim /etc/apache2/sites-available/example.net.conf
Copy and paste the following content in your Apache configuration example.net.conf.
<VirtualHost *:80>
    ServerName example.net
    ServerAlias www.example.net
    ServerAdmin [email protected]
    DocumentRoot /var/www/example.net/public_html

    <Directory /var/www/example.net/public_html>
        Options -Indexes +FollowSymLinks
        AllowOverride All
    </Directory>

    ErrorLog ${APACHE_LOG_DIR}/example.net-error.log
    CustomLog ${APACHE_LOG_DIR}/example.net-access.log combined
</VirtualHost>
/etc/apache2/sites-available/example.net.conf
Apache doesn’t read the config files located in the /etc/apache2/sites-available directory unless they are connected to the /etc/apache2/sites-enabled directory.
So to enable the vhost configuration, we need to create a symlink using the below command:
sudo a2ensite example.net
To test the configuration for any kind of syntax errors issue below command:
sudo apachectl configtest
If everything will be okay, you will see the output something like this:
Syntax OK
Now it’s time to restart the Apache service so our changes can take effect:
sudo systemctl restart apache2
Now, to verify if the setup is properly completed, open http://example.net in your browser, and you will see something like this:

Conclusion
In this article, you have got to know how to install Apache on Ubuntu 20.04. Now, You’re ready to deploy your applications and use Apache as a webserver.
If you have any questions or feedback, leave a comment.