


Neos is one of the most popular open source application used in all over the world which offers its own PHP framework. Neos offers a variety of features such as CMS (Content Management System) which is used to develop and manage the blogs and websites. Anyone can work on Neos, it does not require any specific type of knowledge of codes.
CMS can be a good option for the newcomers to start. Neos CMS provides a environment where you can easily customize and easily manage the codes. CMS is a open source and user-friendly application which help you to run your digital contents.
CMS Platform is designs in such a way that it always enhance the experience of the users. It allows the business organizations to collaborate and enhance the experience of the users across the different platform.
For detailed information about the Neos CMS, you can visit their.
To Start the MySQL service
systemctl start mysqlTo Status the MySQL service
systemctl status mysqlTo Stop the MySQL service
systemctl stop mysqlTo Enable the MySQL service
systemctl enable mysql- Now after the MySQL installation we need to run the following command to setup the MySQL server.
sudo mysql_secure_installationIt will ask for some questions, to answer them as follows
VALIDATE PASSWORD PLUGIN - NChange the password for root ? (Y/N) - NRemove anonymous users? (Y/N) - YDisallow root login remotely? (Y/N) - NRemove test database and access to it? (Y/N) - YReload privilege tables now? (Y/N) - Y- We have successfully installed and setup the MySQL server. Now we have to login into the server
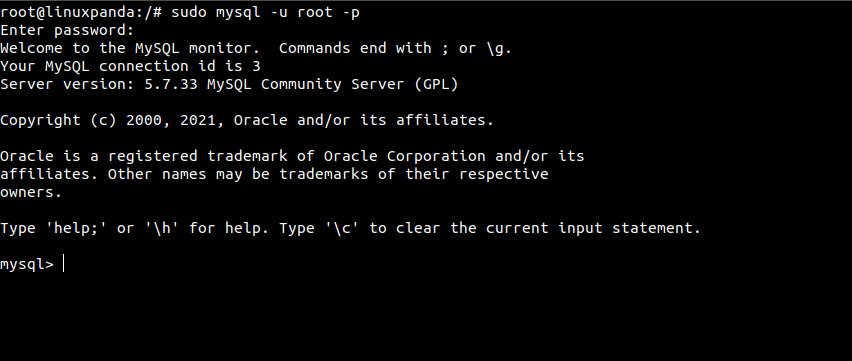
sudo mysql -u root -pEnter the Root password of MySQL
Install PHP 7.3 and Required Modules
Neos CMS is based on PHP, so it requires PHP 7.3. Mostly PHP 7.3 is not available in default repositories. To install the PHP 7.3 run the following commands.
- To install the PHP 7.3 first we need to download and enable the repositories. Run the following command to download and enable the repository.
sudo apt install software-properties-common -ysudo add-apt-repository ppa:ondrej/php- Now update the packages from newly installed repository, if any package is available update.
sudo apt update -y- To install the PHP 7.3 with required modules run the following command.
sudo apt install php7.3 libapache2-mod-php7.3 php7.3-common php7.3-mysql php7.3-gmp php7.3-curl php7.3-intl php7.3-mbstring php7.3-xmlrpc php7.3-gd php7.3-bcmath php7.3-xml php7.3-cli php7.3-zip -y- Edit the PHP default configuration file for Apache2
sudo vim /etc/php/7.3/apache2/php.ini- Update the configuration as mentioned below. These configurations are good settings for Most of the PHP based CMS.
file_uploads = Onallow_url_fopen = Onshort_open_tag = Onmemory_limit = 256Mupload_max_filesize = 100Mmax_execution_time = 360date.timezone = America/Chicago- To save the changes we need to restart the Apache services. Whenever you make any changes in the php.ini file then you need to restart the Apache services to save the changes.
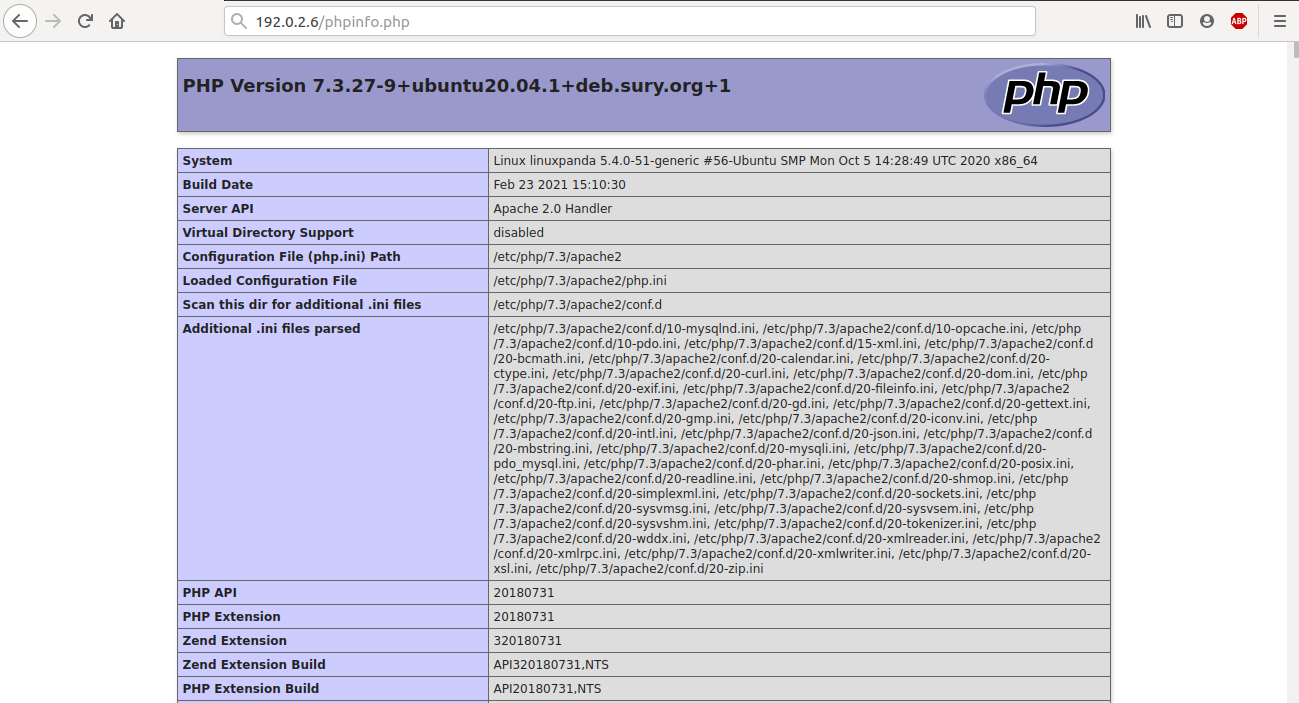
systemctl restart apache2- To check that the PHP is working perfectly or no. Simple create a phpinfo.php file in the Apache2 default document root directory at
/var/www/html/.
sudo vim /var/www/html/phpinfo.php- Open the file and add the following content to the file.
<?php phpinfo( ); ?>- Open the browser enter the
server_ip/phpinfo.phpin the URL section of the browser.
You will see a PHP default page as mentioned below in the image.
Create Neos CMS Database
We have already installed all the required packages for the working of Neos CMS. Now we have to create a empty database for Neos CMS to store data and configuration.
- Login into the MySQL database server just simply run the following command.
sudo mysql -u root -p- Create a database named as
db_neoscms.
CREATE DATABASE db_neoscms;- Create a MySQL database User named as
neoscms_userwith a new strong password.
CREATE USER 'neoscms_user'@'localhost' IDENTIFIED BY 'strong_password';- Grant all the privileges on the database, so that the user can easily modify the database as per the requirement.
GRANT ALL PRIVILEGES ON db_neoscms.* TO 'neoscms_user'@'localhost';- Update the changes done in the MySQL server.
FLUSH PRIVILEGES;EXIT;Download Latest Neos CMS Release
- To download Neos CMS latest version you need to enable the GitHub repository. We also need to install the dependencies of Neos CMS like Composer, Curl etc.
sudo apt install curl git -ycurl -sS https://getcomposer.org/installer | sudo php -- --install-dir=/usr/local/bin --filename=composerWe have successfully installed curl and Composer and other dependencies.
- Change the current working directory to Apache2 root directory
/var/www/html/and Download the latest package of Neos CMS from GitHub.
cd /var/www/htmlsudo composer create-project --no-dev neos/neos-base-distribution neoscms- Set the appropriate permission on the directories. Run the following command to set the correct permission on Neos CMS document root directory.
sudo chown -R www-data:www-data /var/www/html/neoscms/sudo chmod -R 755 /var/www/html/neoscms/Configure Apache2
To run the Neos CMS on the browser we need to create the Apache configuration file for Neos CMS. This configuration file will show and control the content of the Neos CMS.
- Run the following command to create the Apache configuration file named as
neoscms.conf
sudo vim /etc/apache2/sites-available/neoscms.conf- Add the following content in the file and save it. Replace the example.com with your Domain name.
<VirtualHost *:80> ServerAdmin example.com DocumentRoot /var/www/html/neoscms/Web ServerName example.com ServerAlias www.example.com <Directory /var/www/html/neoscms/Web/> Options FollowSymlinks AllowOverride All Require all granted </Directory> ErrorLog ${APACHE_LOG_DIR}/error.log CustomLog ${APACHE_LOG_DIR}/access.log combined <Directory /var/www/html/neoscms/Web/> RewriteEngine on RewriteBase / RewriteCond %{REQUEST_FILENAME} !-f RewriteRule ^(.*) index.php [PT,L] </Directory></VirtualHost>Save and exit the file
Enable the Neos CMS and Rewrite Module
- After creating the virtual host file, we need to enable that file. To enable the configuration file simply run the following command.
cd /etc/apache2/sites-available/sudo a2ensite neoscms.confsudo a2enmod rewritesudo systemctl restart apache2- Now open the web browser and enter the Domain name as mentioned in the configuration file.
Enter the following in the URL section of the browser.
https://www.linuxpanda.com/wp-content/uploads/2021/04/Neos_CMS_Homepage.png 1297w" sizes="(min-width: 720px) 720px">Conclusion
In this tutorial, we have learned how to install the Neos CMS in Ubuntu 20.04 by the help of above steps. If you guys face any problem or have any queries related to this tutorial then mentioned your queries or problems in the comments section.