


Introduction
In this tutorial, we will learn how to Setup Nginx Server on CentOS and host a website.
Nginx is one of the most popular web servers used for hosting websites. It is more effective and efficient than the Apache web server in most cases and also provides a user-friendly environment.
Prerequisites
- CentOS 8
- Root User Access or User with sudo privileges
Read Also: How to Install PHP 8.0 on Ubuntu 18.04 and 20.04
Install Nginx Web Server
CentOS 7
- Update the server.
yum update -y
- To install nginx, first we need to install the CentOS 7 EPEL repository.
sudo yum install epel-release -y
- To install nginx run the following command.
sudo yum install nginx -y
CentOS 8
To install Nginx, we need to use dnf package manager, which is the new default manager on CentOS 8.
- Install DNF packages.
yum install dnf -y
- Install the
nginxpackage
sudo dnf install nginx -y
- Enable the Nginx service
sudo systemctl enable nginx
- Restart the Nginx service
sudo systemctl start nginx
Checking your Web Server
To test that the Nginx web server is running and up by accessing your server’s Public IP address or Domain name in the URL section from the browser.
If you don’t know your server’s private IP address then simply follow the below command
ip addr show eth0 | grep inet | awk '{ print $2; }' | sed 's/\/.*$//'
You can also use the below command to check the public IP address.
curl -4 icanhazip.com
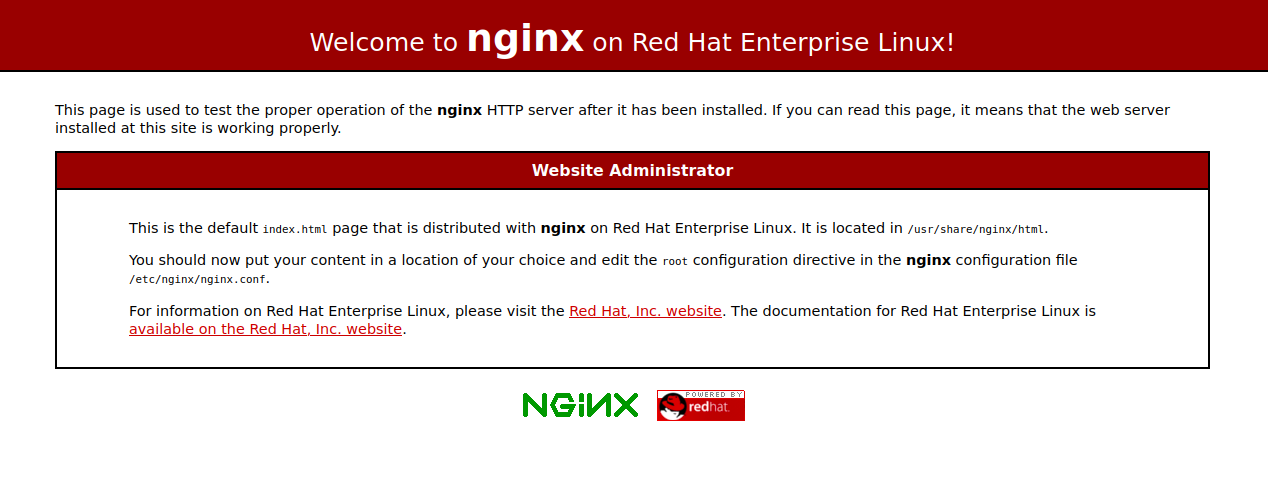
You will see a default page of Nginx on the browser if Nginx working perfectly.
Managing the Nginx Process
You can manage the Nginx service with the following commands.
- To Start the Nginx service
sudo systemctl start nginx
- Use this below command to check the status of Nginx Service
sudo systemctl status nginx
- To Stop the Nginx service
sudo systemctl stop nginx
- You can hit this below command to restart the Nginx service
sudo systemctl restart nginx
- To Enable the Nginx service
sudo systemctl enable nginx
- This below command will disable the Nginx service
sudo systemctl disable nginx
Virtual hosing with Nginx
- Temporary Disable the SELinux (Default Firewall).
setenforce 0
- Create a directory for your domain files
sudo mkdir -p /var/www/linuxpanda
You can create the directory with any name and anywhere in the system as per your desire.
Replace linuxpanda with your desired name for the directory.
- Change the ownership.
sudo chown -R $USER:$USER /var/www/linuxpanda
- Install the Vim Editor
yum install vim -y
- Create a sample file named as index.html
vim /var/www/linuxpanda/index.html
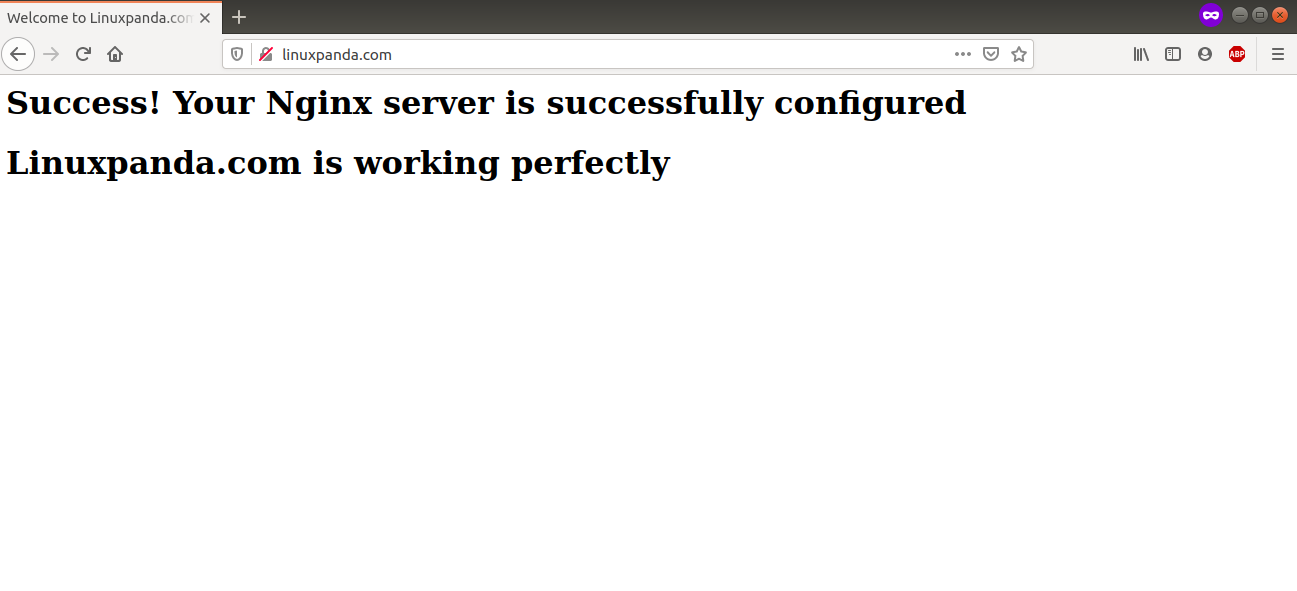
- Add the following content in the file.
<html>
    <head>
        <title>Welcome to Linuxpanda.com</title>
    </head>
    <body>
        <h1>Success! Your Nginx server is successfully configured</h1>
        <h1> Linuxpanda.com is working perfectly</h1>
    </body>
</html>
- To serve the content, you need to create a server block which point to our custom web root.
sudo vim /etc/nginx/conf.d/linuxpanda.conf
- Paste in the following configuration in the newly created server block.
server {
        listen 80;
        listen [::]:80;

        root /var/www/linuxpanda;
        index index.html index.htm index.nginx-debian.html;

        server_name Linuxpanda.com www.Linuxpanda.com;

        location / {
                try_files $uri $uri/ =404;
        }
}
Save and Exit the file.
- Check the Nginx configuration is error free or not by the following command.
sudo nginx -t
If there is no error then it will show the following output.
Output
nginx: the configuration file /etc/nginx/nginx.conf syntax is ok
nginx: configuration file /etc/nginx/nginx.conf test is successful
- Restart Nginx service
sudo systemctl restart nginx
- We need to update the server’s SE Linux security so that it can allow the Nginx to serve the content from the
/var/www/linuxpanda
chcon -vR system_u:object_r:httpd_sys_content_t:s0 /var/www/linuxpanda
You can also disable the SE Linux security to remove the interruption.
Remove / Uninstall Nginx
- Stop the Nginx service.
sudo systemctl stop nginx
- Disable the Nginx service
sudo systemctl disable nginx
- Remove the Nginx package
yum remove nginx -y
- Remove the Nginx user with its related directory
sudo userdel -r nginx
- Delete the directory related to Nginx.
sudo rm -rf /etc/nginx
sudo rm -rf /var/log/nginx
sudo rm -rf /var/cache/nginx/
- Remove the created Nginx service script under systemd
sudo rm -rf /usr/lib/systemd/system/nginx.service
Conclusion
In this tutorial, we have learned how to install and Host the website with the Nginx package.
If guys have any quires related to this Setup Nginx Server on CentOS tutorial, Let me know in the comments.