


cPanel is the server control panel. It is used to manage the website, user, database, mailbox and web application, etc. cPanel provides a wide range of options for managing the website. cPanel provides a GUI interface for the users to work in a user-friendly environment. Users do not require having the knowledge of Linux to work on the cPanel. cPanel provides GUI for the frontend and work on the command line as backend.
It comes with a cPanel and WHM (Web Host Manager), which make web hosting easier:
- cPanel – It provides a variety of option for managing the Domains and subdomains. cPanel can easily create ftp, add user, add subdomain etc.
- WHM – It provides root and reseller level access interface, User can easily manage settings related to server administration and account management.
Read Also: How to Install and Use PHP Composer on CentOS 7 and 8
Requirements
You can check below in the table which OS, Processor, RAM, Disk space, and Architecture are required to install cPanel.
| Operating system and version | Processor | RAM | Disk Space | Architecture |
|---|---|---|---|---|
| CentOS 7, CloudLinux 7, or RHEL 7 | 1.1 GHz | Minimum: 1 GB Recommended: 2 GB | Minimum: 20 GB Recommended: 40 GB | 64-bit |
| CloudLinux 6 | 1.1 GHz | Minimum: 768 MB Recommended: 1 GB | Minimum: 20 GB Recommended: 40 GB | 64-bit |
| CentOS 8 and CloudLinux 8 Experimental | 1.1 GHz | Minimum: 1 GB Recommended: 2 GB | Minimum: 20 GB Recommended: 40 GB | 64-bit |
Installation
Step 1:- Update the system:
yum update -y
Step 2:- Make sure to set a standard hostname (FQDN or Fully Qualified Domain Name)
Replace server.linuxpanda.com with your own hostname.
hostnamectl set-hostname server.linuxpanda.com
Step 3:- Check the firewall is ON or not:
iptables -L
If it shows some predefined rules, it means the Firewall is ON then We have to manually allow the ports of cPanel, WHM, and Webmail. If the Firewall is OFF, then skip this step:
Without SSL
sudo iptables -A INPUT -p tcp --dport 2086 -j ACCEPT
sudo iptables -A INPUT -p tcp --dport 2082 -j ACCEPT
sudo iptables -A INPUT -p tcp --dport 2095 -j ACCEPT
For SSL
sudo iptables -A INPUT -p tcp --dport 2087 -j ACCEPT
sudo iptables -A INPUT -p tcp --dport 2083 -j ACCEPT
sudo iptables -A INPUT -p tcp --dport 2096 -j ACCEPT
Step 4:- We need to install some packages required by the cPanel:
yum install curl && yum install perl
Step 5:- Download and Install the latest version of cPanel :
cd /home && curl -o latest -L https://securedownloads.cpanel.net/latest && sh latest
The above command will automatically download and install the latest cPanel.
The installation process take approx. 5 to 30 minute. It depends upon the size of the server.
Step 6:- To open the cPanel, Open the browser and enter the following :
Without SSL
http://Ip_Address:2086
For SSL
http://Ip_Address:2087
Sometimes when we try to login with Port 2086, It will automatically redirect us to Port 2087 for security purpose.
Step 7:- Use the Server’s username and password to login to WHM.
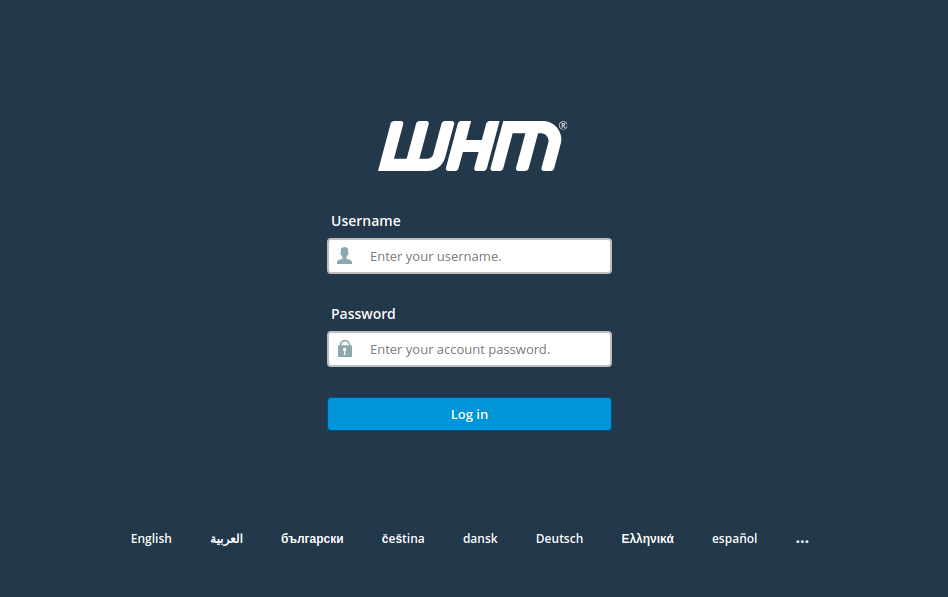
Click on Agree to All then click on login.
Step 8:- Now we have to create a new account for the trial version of cPanel.

Click on Create Account , Mention your mail id then verify the mail. Your Trail has been activated.
Now Click on Server Setup
Step 9:- Provide an E-mail Address to receive the server-related updates. Also, provide a Nameserver to connect the Domain.
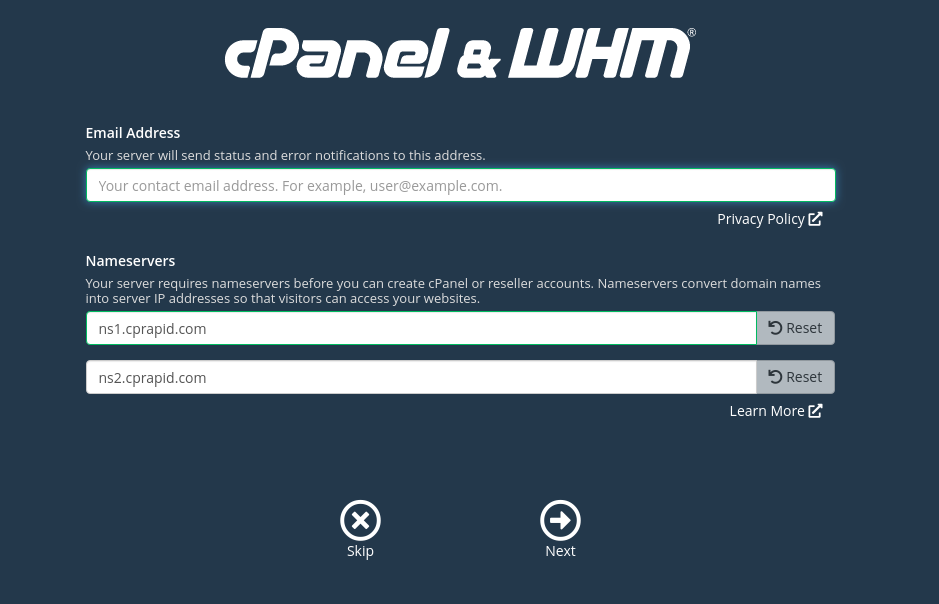
Now, you successfully setup the cPanel&WHM.
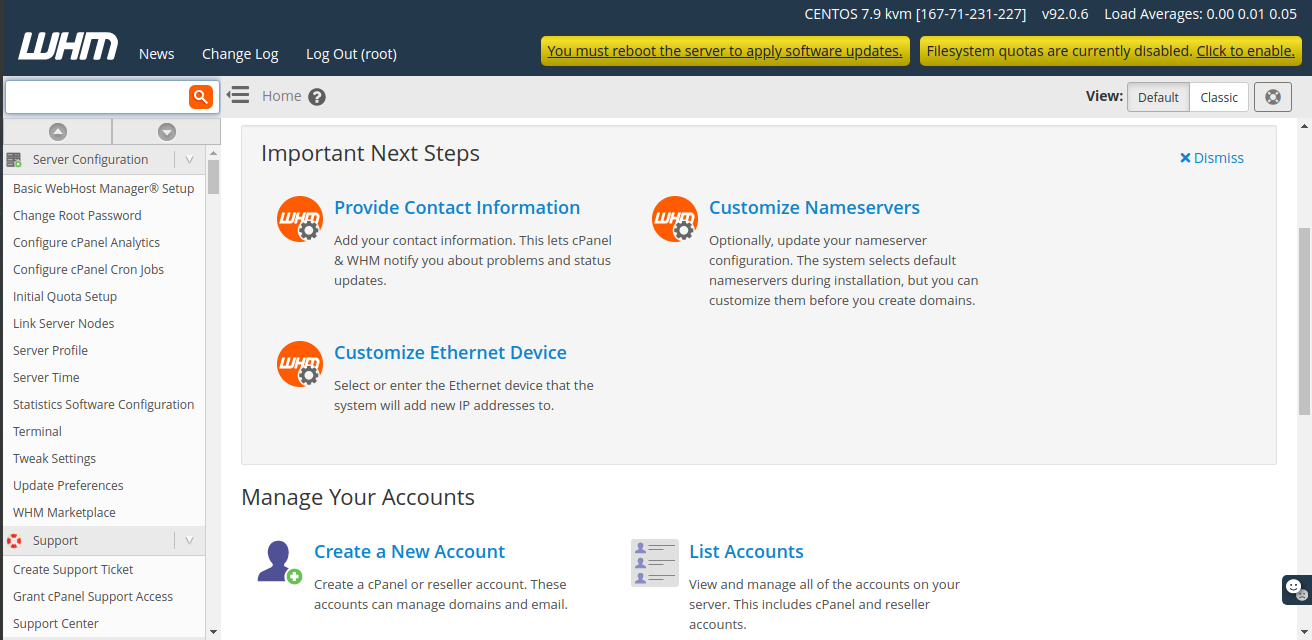
Step 10:- After login you can see this below screen.
Create a New User
Now we will see how to create a cPanel account and host a domain with that account. Creating a new account or hosting your domain is the same thing. These steps will explain below.
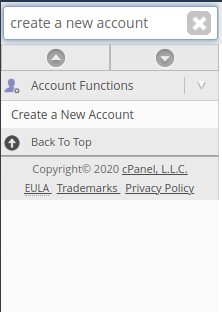
Step 1:- Search Create a New Account in the search tab of cPanel.
Step 2:- Now provide the appropriate details to create the new user.
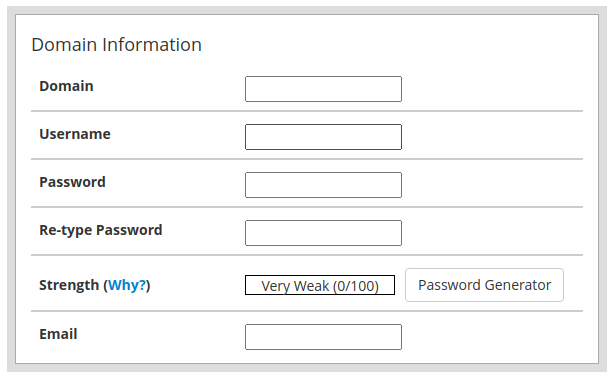
- Domain :- Provide the domain name which you want to host.
- Username :- Panel will automatically take the username from the domain,You can also use your own custom username.
- Password :- Set a very strong password to secure the panel.
- Re-type Password :- Again enter the same password
- Strength :- Password strength must be more than 65%, You can also generate the strong password by using the
Password Generator. - Email :- Provide the mail id to get the update regarding to the Domain.
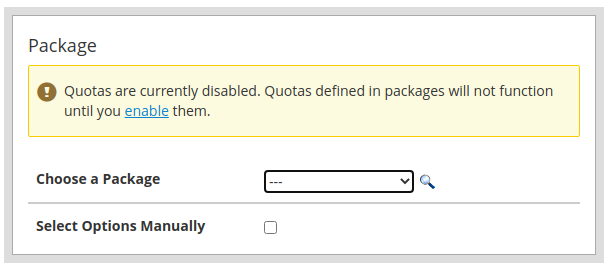
Step 3:- cPanel will take default Package, User can also select the package manually as per the requirement
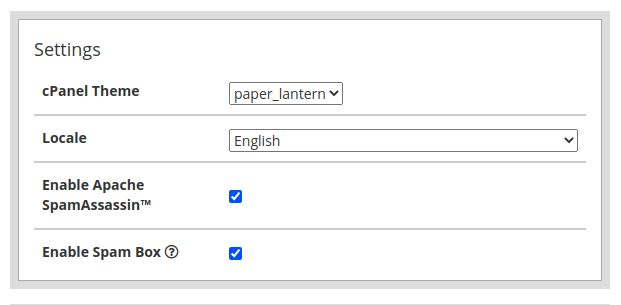
Step 4:- Leave the Default Setting section.
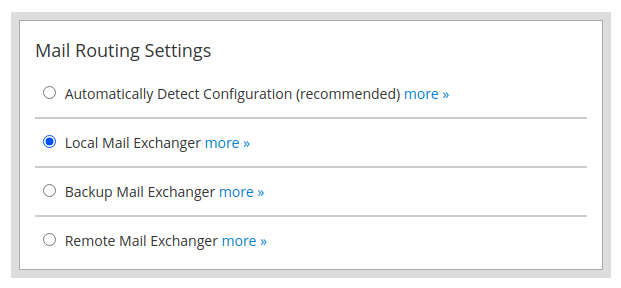
Step 5:- If you are using a third party mail server like G-suite or Outlook, then choose Remote Mail Exchanger Option else use Local Mail Exchanger.
If you are unsure choose Automatically Detect Configuration.
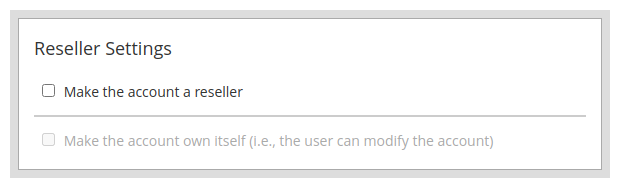
Step 6:- If you want to make this user a reseller then select theMake the account a reseller option in the Reseller Setting section.
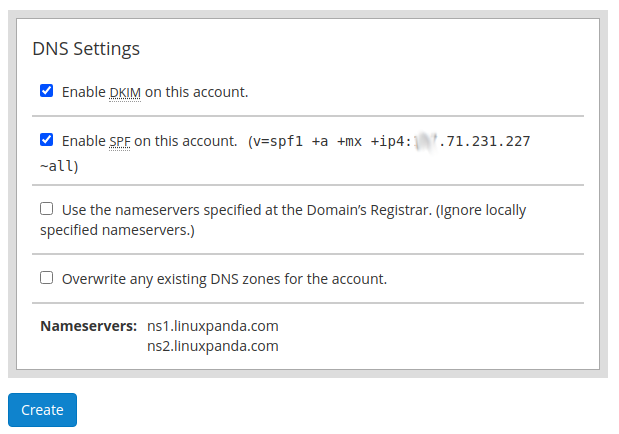
Step 7:- Keep these settings as it is and change Nameservers as mentioned at very last according to your configuration. Click on Create to create this user and host your domain.
Important Configuration files
CPanel Backend Files
- Cpanel directory : /usr/local/cpanel
- Third Party tools : /usr/local/cpanel/3rdparty/
- Cpanel addons directory : /usr/local/cpanel/addons/
- Base files like Phpmyadmin, skins : /usr/local/cpanel/base/
- cPanel binaries : /usr/local/cpanel/bin/
- CGI files : /usr/local/cpanel/cgi-sys/
- Cpanel access & error log files : /usr/local/cpanel/logs/
- Whm related files : /usr/local/cpanel/whostmgr/
Important cPanel Configuration Files
- Apache configuration file: /etc/httpd/conf/httpd.conf
- Exim mail server conf file:/etc/exim.conf
- Named conf file : /etc/named.conf
- ProFTP and Pure-Ftpd conf file :/etc/proftpd.conf and /etc/pure-ftpd.conf
- Cpanel user file: /var/cpanel/users/username
- Cpanel configuration file (Tweak settings) : /var/cpanel/cpanel.config
- Networking configuration file: /etc/sysconfig/network
- Addons, parked and subdomain information: /etc/userdomains
- Cpanel update config file: /etc/cpupdate.conf
- Clamav conf file: /etc/clamav.conf
- Mysql configuration file: /etc/my.cnf
- PHP ini conf file : /usr/local/lib/php.ini
For more information visit: cPanel Homepage
Conclusion
In the Linux operating system, cPanel is one of the best options for web hosting management. cPanel is easy to install and easy to use. Everyone can easily use it as It does not need any special knowledge to operate. cPanel also provides support on the product, if you need any help.
If you guys have any queries related to Install cPanel and WHM in CentOS, let me know in the comments.